

Support -> How To Set Your Customer Portal Options
How To Set Your Customer Portal Options
This guide will show you how to configure your online booking calendar to meet your business needs.
Step 1. Enter the "Edit Customer Portal Settings" Section
Under the "Customer Portal" tab of the "Settings" page, select the "Edit Settings" tab.

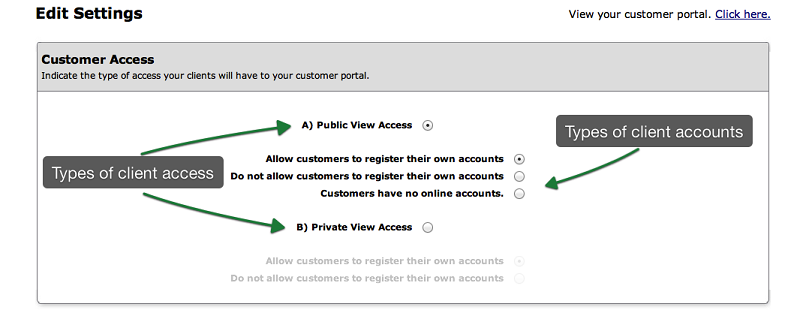
Step 2. Determine How Clients Will Access Your Customer Portal
Select either "Public" or "Private" View Access by clicking on the corresponding button.
Public View Mode allows anyone who visits your customer portal to view
the services that are available and book an appointment. In Private View Mode, only users that have a registered account
can view services and book an appointment. They must enter their username and password
to login into your customer portal.
Regardless of wich view is selected, you must determine whether you want clients to be able to create an account online or not.
When customer registration is enabled, clients can register their own account by completing a form with the following minimum information: Name,
Email Address, Password, and Telephone Number. If this feature is disabled, customers must call you
in order to set up an account and be able to book appointments online through your portal.
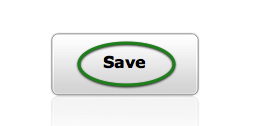
Step 3. Save Your Changes
Don't forget to click the "Save" button at the bottom of the page to confirm your changes.
© 2009 - 2019 calendarspots.com