

Support -> How To Add a Client
How To Add a Client
This guide will show you how to add a client to your customer database within your customer scheduling software.
Step 1. Access the "Add Client" form
After selecting the "Client" tab in the customer scheduling software, select the "Add Client" option.

Please note you can also create a client profile on the fly when creating a new appointment or when adding a new client to a class.
However, not all options are available when creating a client on the fly. The "Add Client" form on the other hand contains all options
that include family associations, secondary contact details and star ratings.
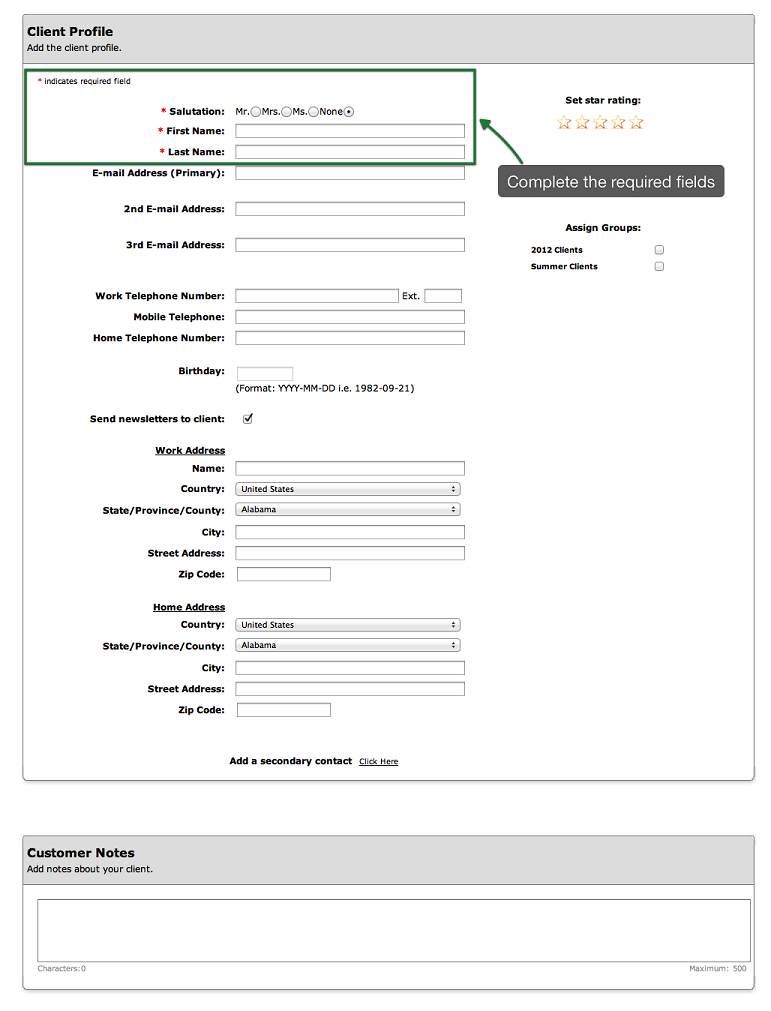
Step 2. Enter the Client's Details
In the Profile section of the client details form, make sure to enter the required Client details:
- salutation,
- first name,
- and last name
Note that at the bottom of the profile Section, there is a section for customer notes. You may enter
useful notes about your customers such as preferences or appointment tardiness.
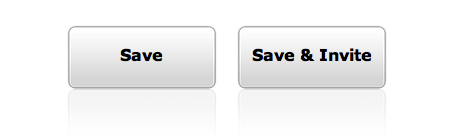
Step 3. Save Your Changes
Don't forget to click the "Save" button at the bottom of the page to save the new client profile
within your online customer booking software. If you would like to save the information and also send
an email to invite your client to book an appointment online, click on "Save & Invite". When clients receive the
invitation email, they will be asked to initialize their password.
NOTE:
The "Save & Invite" button is only available if clients actually have accounts to access the online customer booking portal. When the software account is in no client accounts mode, then the "Save & Invite" will not be seen.
The "Save & Invite" button is only available if clients actually have accounts to access the online customer booking portal. When the software account is in no client accounts mode, then the "Save & Invite" will not be seen.
© 2009 - 2019 calendarspots.com