

Support -> How To Add a Map to Your Customer Portal
How To Add a Map to Your Customer Portal
This guide will show you how to include a Google map on your customer portal to assist clients with online scheduling.
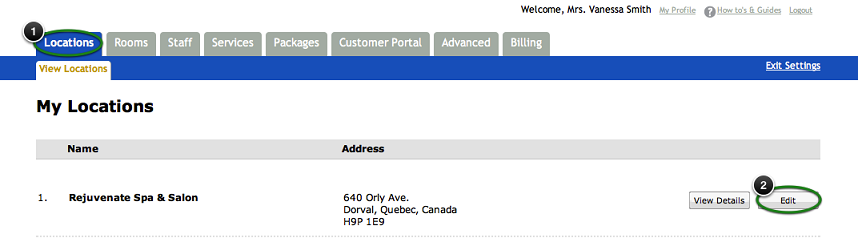
Step 1. Select Your Location
After selecting the Location tab in the Settings, select the location
you want to edit and click the "Edit" button.
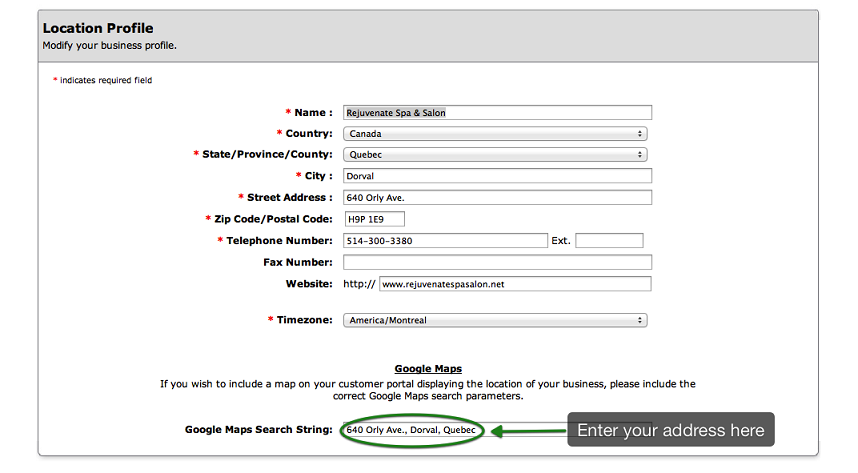
Step 2. Enter Your Address
Under the Google Maps section of the Location Profile, enter your address in the
"Google Maps Search String" field.
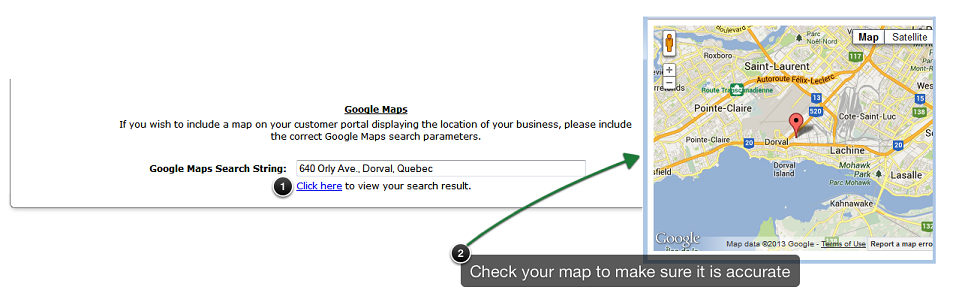
Step 3. Verify Your Map
Verify that the map displayed is correct by selecting "Click Here." This is the map your customers will
see when they access your customer scheduling portal. If it is not showing the correct location when using your address or postal code,
you can try entering the lattitude and longitude. Here is more information related
to latitudes and longitudes within Google Maps.
Note: Testing is not available when using Safari.
Note: Testing is not available when using Safari.
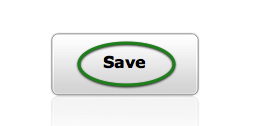
Step 4. Save Your Changes
Don't forget to click the "Save" button at the bottom of the page to confirm your changes.
© 2009 - 2019 calendarspots.com