

Support -> How To Edit Online Scheduling Rules
How To Edit Online Scheduling Rules
This guide will show you how to edit your online scheduling rules for online client scheduling.
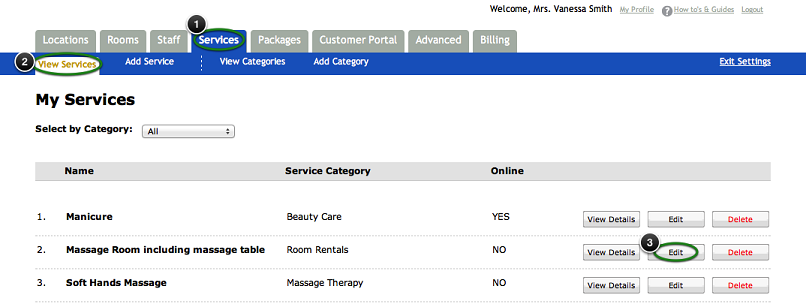
Step 1. Select the Service You Wish to Edit
After selecting the "Service" tab in the Settings page, under "View Services" select the service you wish to edit
and click on the corresponding "Edit" button.
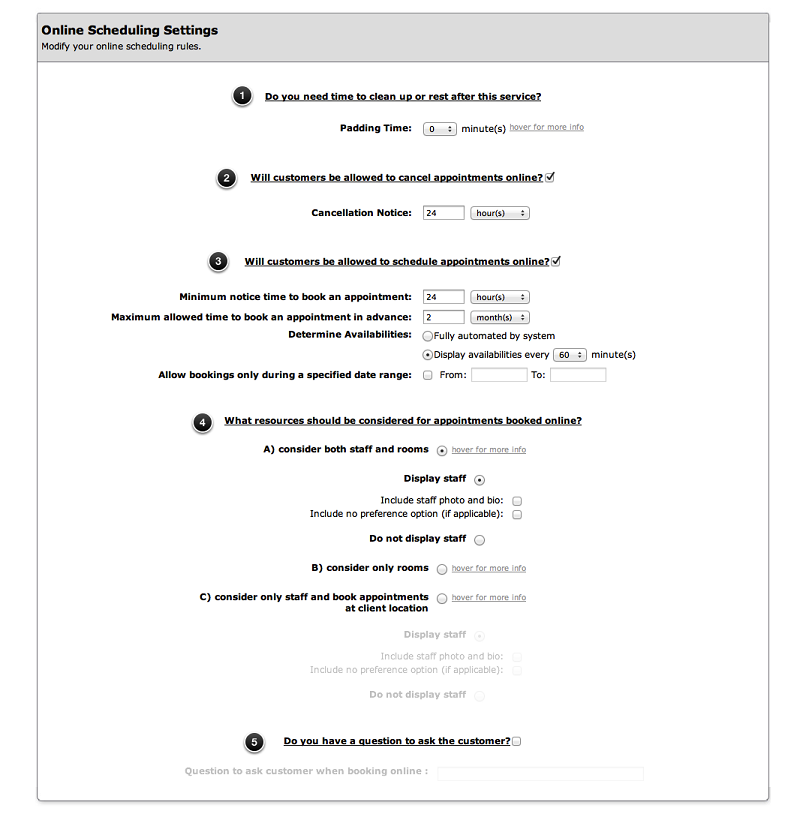
Step 2. Modify Your Online Scheduling Rules
If you want your customers to be able to book appointments online through your customer portal,
the Online Scheduling Rules section must be completed. Please select your preferred options
pertaining to each of the elements below:
1- Clean up time to consider for online booking
2- Cancelling an appointment online
3- Scheduling an appointment online
4- Resources required
5- Questions to ask
If you do not want your customers to be able to book appointments through your customer portal, simply
remove the checkmark next to "Will customers be allowed to schedule appointments online?"
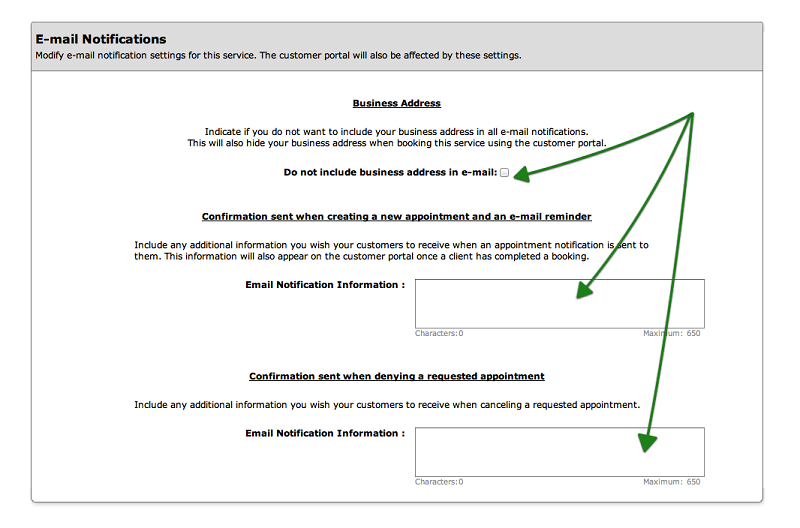
Step 3. Set Your Email Notification Options
This section allows you to configure the emails your clients will receive when they book an appointment.
In the Email Notification section of the page, select whether you would like your business address to appear
in notification emails by checking off the appropriate box. Next, enter any note you wish to include in the
communication to you customers. Click the following link for more information regarding appointment reminders and notifications.
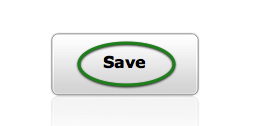
Step 4. Save Your Changes
Don't forget to click the "Save" button at the bottom of the page to confirm your changes.
© 2009 - 2019 calendarspots.com